Knit Espresso Machine Handle
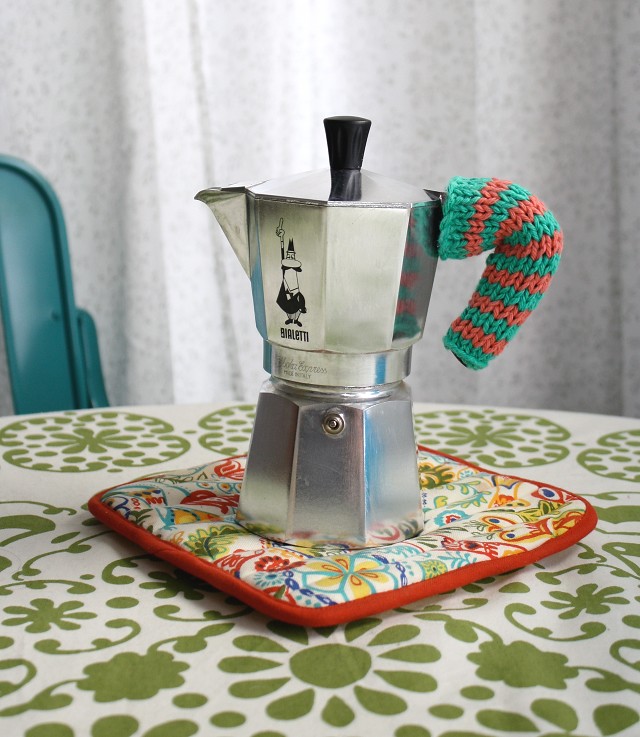
I will begin by stating that I am oddly proud of this knit project.
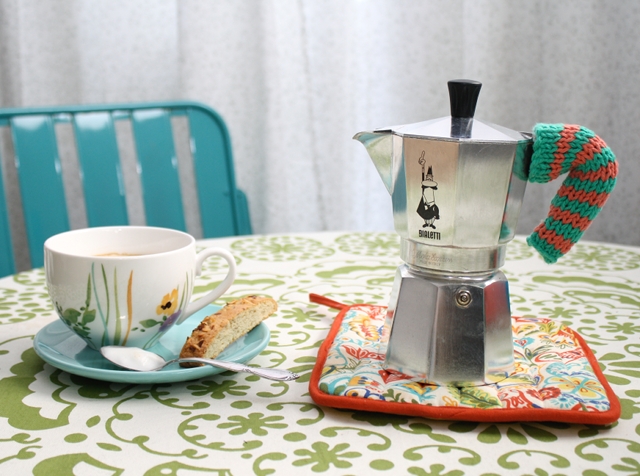
Thanks to my new milk frother, I can fuel my cappuccino craving without going to Starbucks. However, I've burnt my fingers a few times picking up the handle. I tried using my oven mitts, but I felt like it was going to slip through the bulky fingers and spill all over the floor. As Vanilla Ice would say..."If there was a problem, yo I'll solve it!" Haha. (Yes that was a Vanilla Ice reference. Word to your mother.) So...last night I made a little handle cover using 100% cotton yarn and I love how it turned out! I can just slip it on and off whenever I wash the machine.
Since a lot of espresso machines are different, it's hard to give an exact pattern. Here is what I did and I'm sure you can adapt it for your handle size!
Materials: 100% cotton yarn, I used two different colors for the stripes.
Needles: Size 8
Dimensions: About 5.5 inches long, 4 inches in circumference at the top and 2 inches in circumference at the bottom. These dimensions vary on the machine you are using.
Cast on 16 stitches.
Row 1-7 (odd rows): Select one of your colors. Knit all the way across
Row 2-8 (even rows) : Purl all the way across. For rows 3 and 4, change to your second color. Repeat these two rows with your alternating stripes for about 1.5 inches, or until your handle begins to get smaller.
Row 9: Knit two together, knit the rest of the row, knit two together. Now you have 14 stitches on the needle.
Row 10-20 (even rows) : Purl all the way across
Row 11-19 (odd rows) : Knit all the way across
Row 21: Knit two together, knit the rest of the row, knit two together. Now you have 12 stitches on the needle.
Row 22-26: Continue your knit/purl stripe pattern until your reach your desired length.
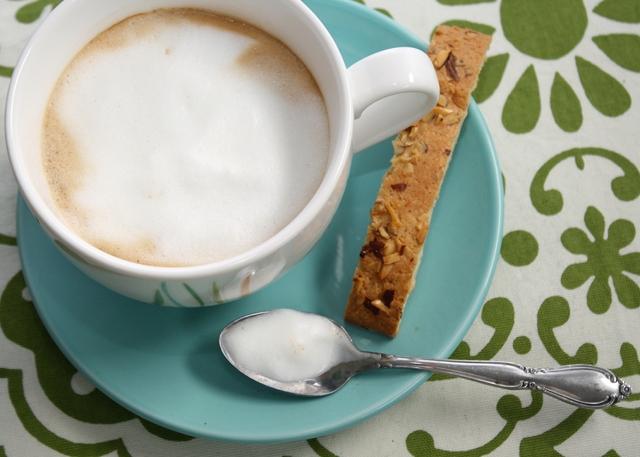
Bind off, sew up the sides, and make yourself a latte!
Uh oh. Now I'm making crazy sweaters for inanimate objects. Somebody stop me!! ;-)


